
1. Cupcake Lights

This is an easy method to light up your barbeque area and it only takes an hour to make and costs very little if you already have Christmas lights. You can also color the outside of the cupcake liners to display the colors of your school, favorite sports team, or even a nation's colors.
Materials:
50 Cupcake Liners
Strand of Christmas Lights
Food Coloring (optional)
1. If you wish to color the liners then fill a regular cereal bowl full of water for each color you wish to use.
2. Put about ten drops of food coloring into each bowl. (I have found that blue coloring may take a few more drops to achieve a dark enough color.

3. Dip the top of each cupcake liner into a color and remove after 20 seconds.
4. Wait 30 minutes for coloring to dry.

5. Start here if you have pre-colored liners or choose not to color them.
6. Punch a hole in the center of each liner and use scissors to expand the whole slightly.
7. slide a cupcake liner onto every other light bulb. Alternate colors if using multiple of them.

8. Hang and enjoy.
2. Paper Balloon Lights
This is another easy method and is similar to the cupcake lights. If you already know how to make a paper balloon then this project will only take a few minutes. If not then it is very easy to learn. My favorite part of this specific project is how customizable it is. You can use colored or patterned paper, you can draw or paint on the paper, you can even cut cool designs on the sides of the boxes. The possibilities are endless.
Materials:
Origami Paper (printer paper can work to)
Strand of Christmas Lights
1. Fold the corners of a piece of paper down so that they touch the other side and then unfold them. You should have a crease in the form of an "x" in front of you.


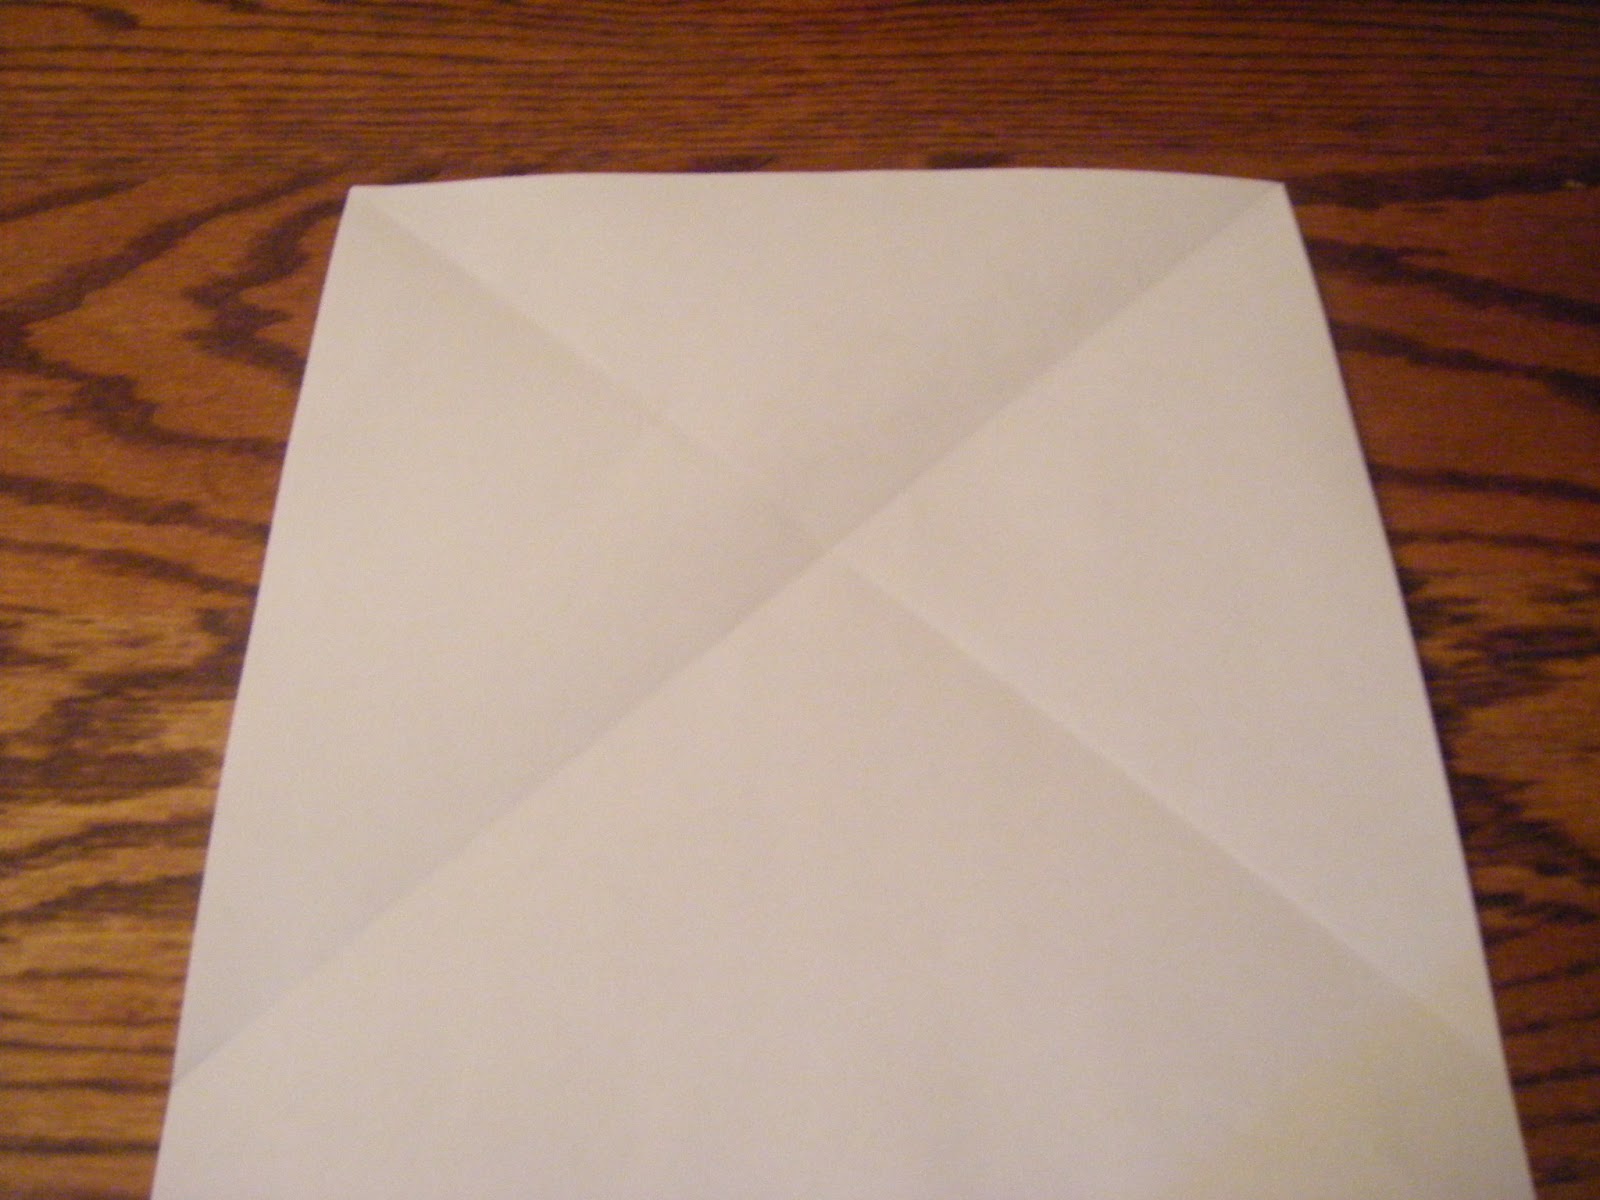
2. If you are using printer paper, cut off the excess paper that is beneath the creases. Then fold the whole paper in half horizontally.


3. take the two edges of the horizontal crease and pull them toward each other, then fold over the diagonal creases to make a pyramid shape.


4. From here on out each step in making the balloon must be repeated on the front and the back. Fold the corners of the pyramid up to form a diamond. remember only to fold the closest layer up, the other layer will be folded up on the back.


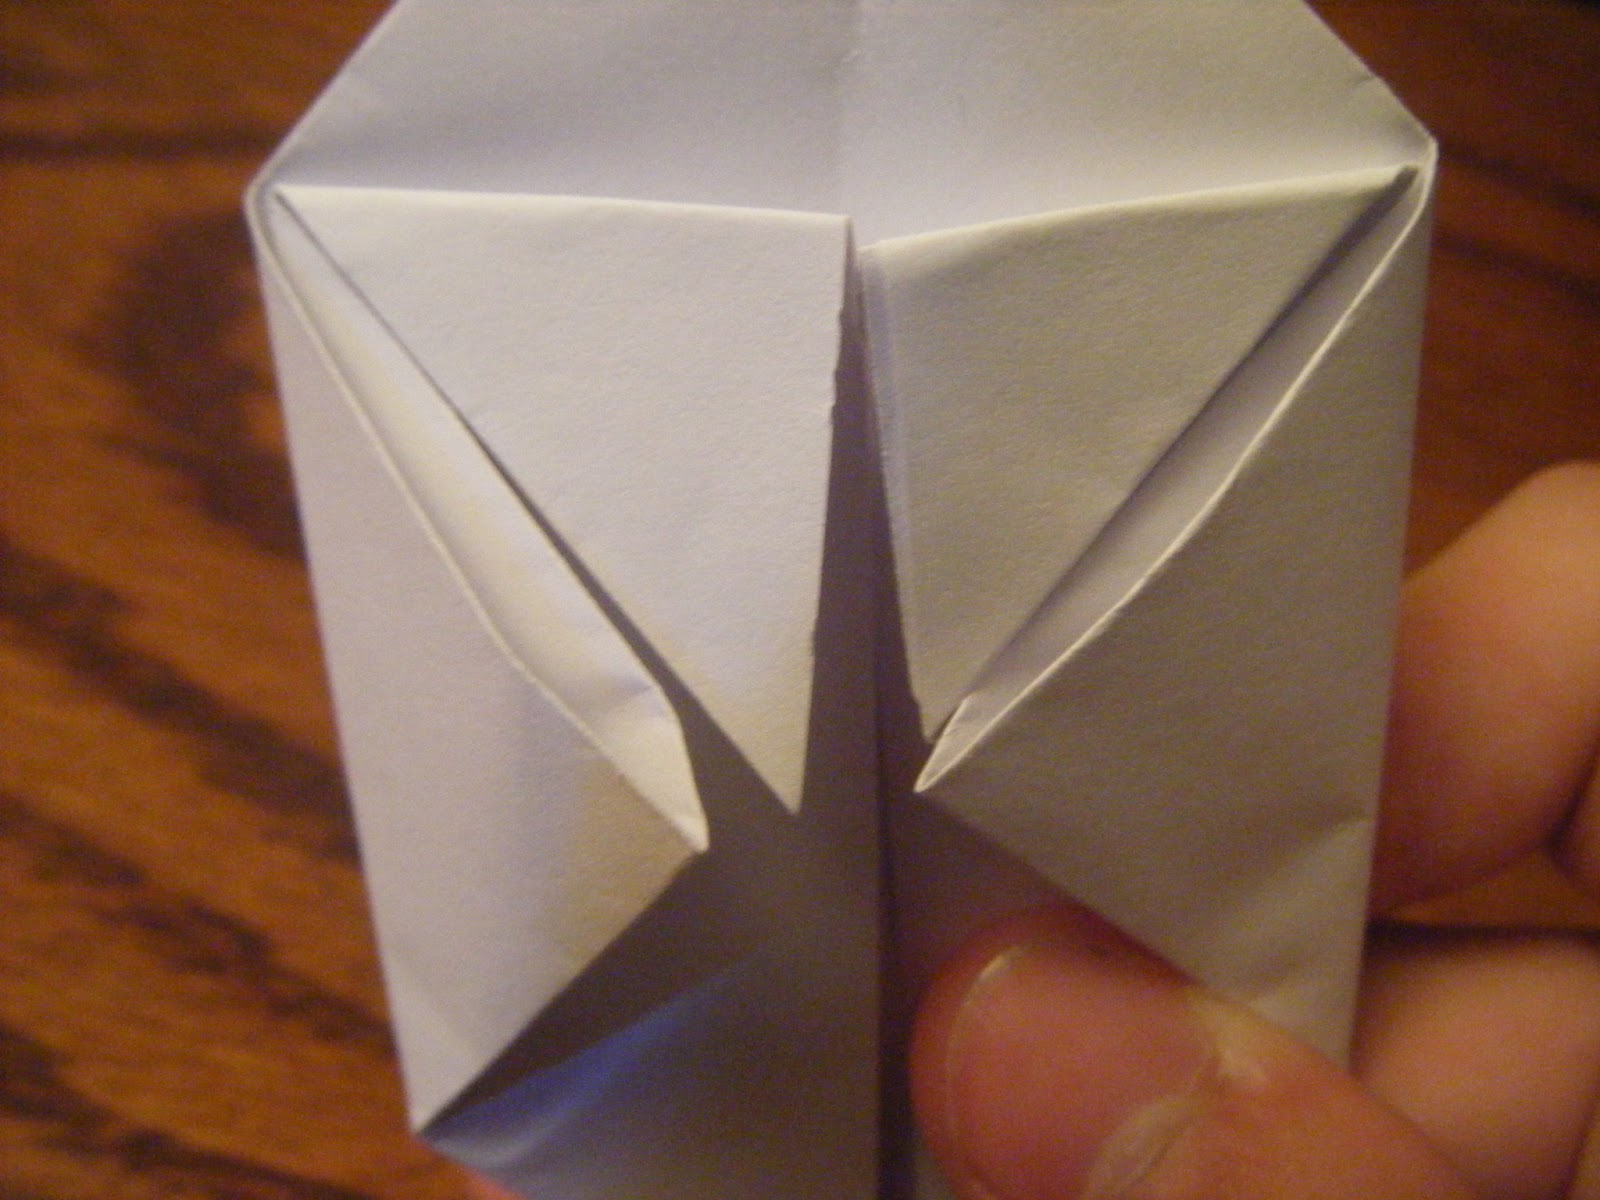
5. Now take the sides of the diamond and fold them in towards the center. Make sure only to fold in the first layer.


6. fold down the extra flaps that are on the top. they should meet with the sides you just folded in.


7. This is usually the step that loses the most people. Look at the sides that you folded in on step 6, there should be a pocket on the top side. Take the flaps from step 7 and tuck them into the pocket and crease them.


8. Now that you have done all the folding find the hole on the bottom and inflate it with air. You should be left with a paper cube.


9. Use scissors to slightly increase the size of the hole and put it onto a Christmas light.

10. Repeat until you have a long enough strand.
Visit this instructable for more detailed information on how to make a paper balloon.
3. Bottle Lights

As far as time goes, this project is the quickest. If you only have a few minutes until guests arrive and you want to make an impressive light up center piece this project is for you. All you need are a few used glass bottles (wine, hot sauce, soda, or even mason jars work) and some icicle lights. (I was able to make mine with regular Christmas lights, but they would definitely look less cluttered if I had used the icicle lights instead)
Materials:
Glass Bottles or jars
Icicle lights
1. Remove caps from bottles, if using jars, cut a 1" hole in the center of the lid.
2. Slide the icicle lights into each bottle or jar.*

3. Bunch up the bottles for a nice centerpiece.
*tip: if your bottles are large enough you can fit two or even three icicle lights in each one.
4. Glowing Mason Jars
 |
| Glowing "firefly" jars |
I wasn't sure if I could count this project as a light source at first, because it isn't especially bright, but even if it isn't the most useful light, it sure is a fun and entertaining addition to any bonfire or nighttime barbeque.
Materials:
Mason Jars
Lids
Decorations (optional)
Glitter (optional)
Glow sticks (one or two per mason jar)
1. If you want to decorate your mason jar do it first. My brothers opted to decorate theirs and used googly eyes, pom-poms, beads, and paper to make mason jar "people" but is also looks cool with a plain jar.

2. when you are ready to let your mason jars glow cut the ends off of your glow sticks and shake the contents of the sticks into your jars.*

4. Close the lid. The sooner you do this, the longer the glow affect seems to last.

5. The glowing only lasts for about 5 minutes, but you can always put more glow sticks in.
*note: glow stick liquid can cause stains, but after it is done glowing it is hard to tell. Still, try not to wear Sunday's best when dealing with open glow sticks.
These projects were all quite easy to do and are perfect for impressing family and friends at the next barbeque, and the best part is that all of the projects can easily be taken down the next day.
I like the idea with tje glow sticks. You could also get glow in the dark glue and put drops of it on wax paper to dry. The add to water and submit to black light whilst in the jars. Glows long enough to run to the outhouse. :-)
ReplyDeleteThank you for the suggestion! It sounds very interesting! I might try more lights like this later in the summer.
ReplyDelete